Pianos are rare beasts in the world of musical instruments. They’re grand, heavy, delicate, and deeply sentimental. Even a small bump or tilt can wreak havoc on the mechanics or finish.
In New Zealand, many homes have narrow corridors, wooden floors, or stairs that make piano moving even more of a headache. You’re going to need more than brute strength.
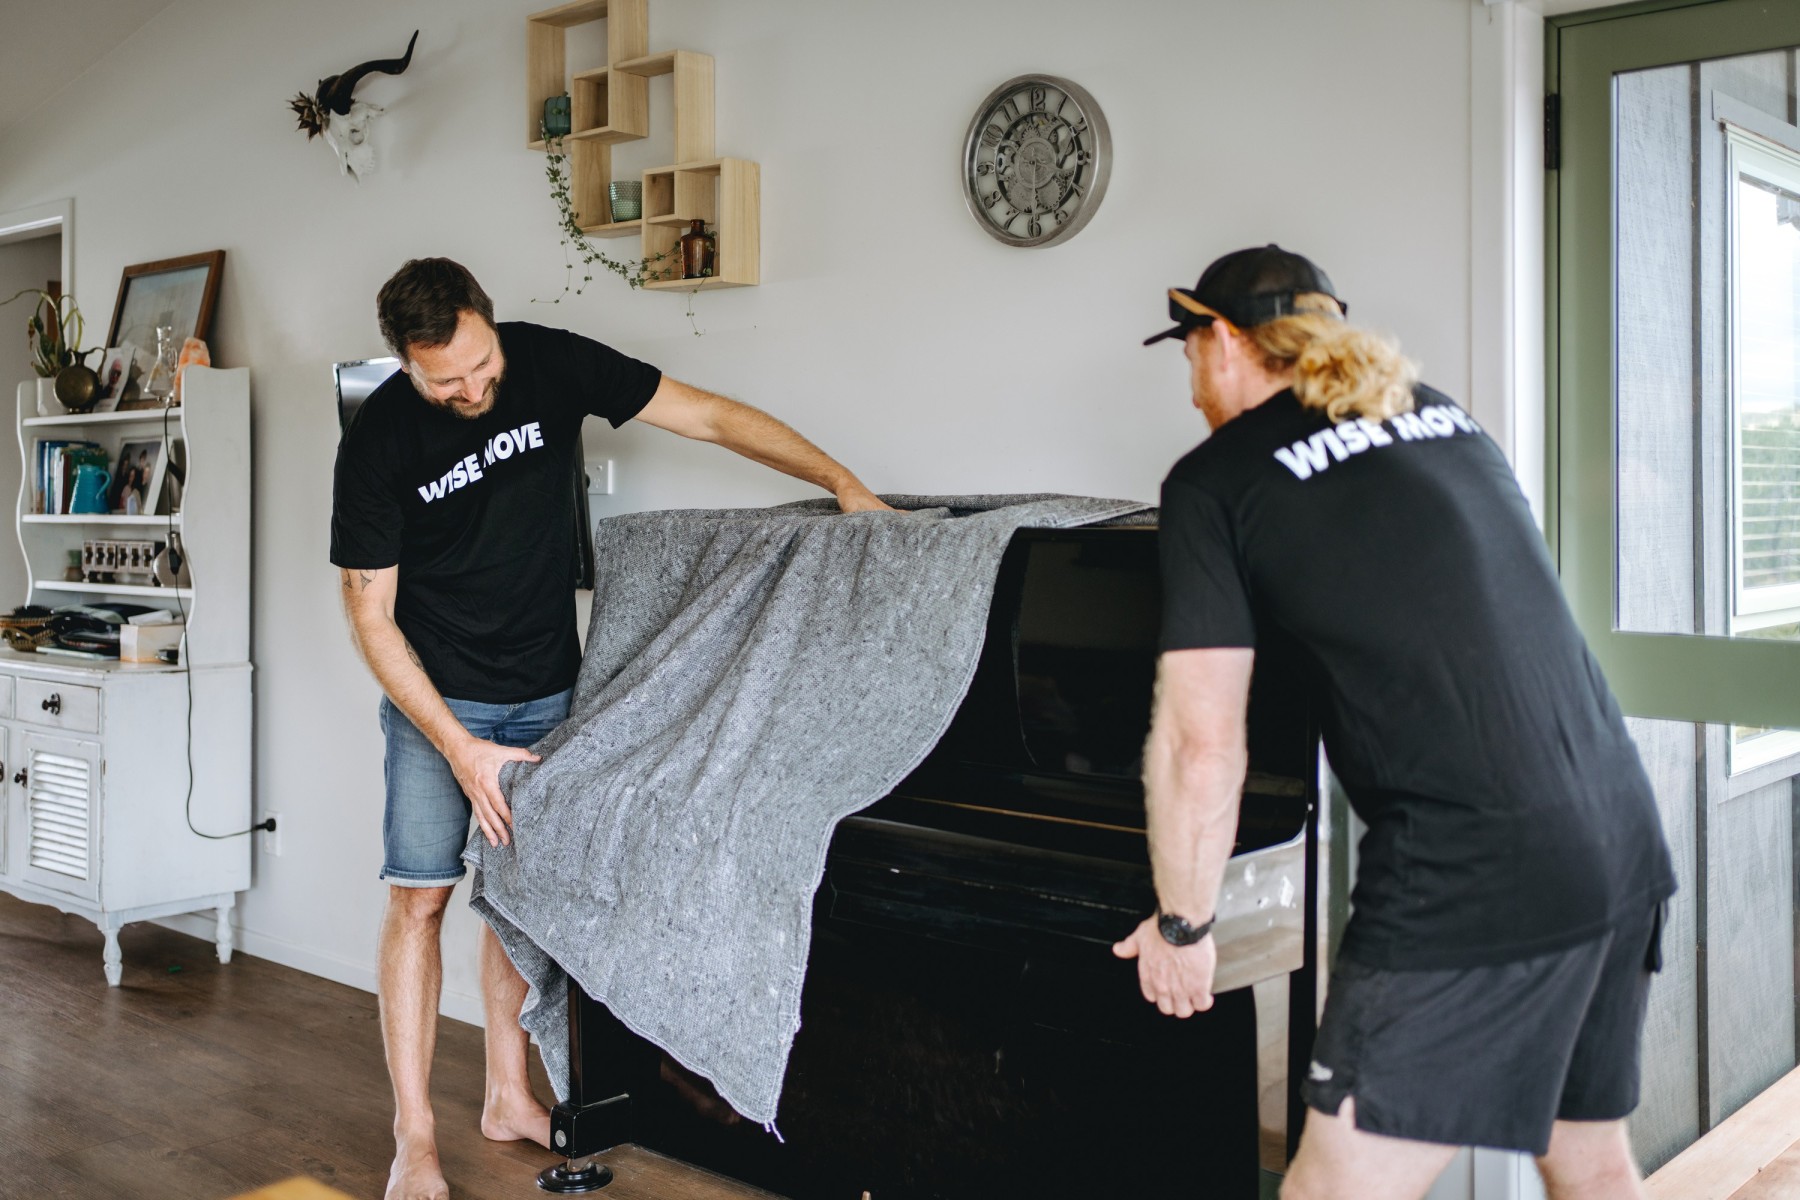
That’s why hiring professional NZ piano movers is usually the safest route. If you’re feeling brave (or strapped for cash), this guide will walk you through how to move a piano yourself as safely as possible.
In this guide:
Types of pianos and why they matter
Moving your piano isn’t just like sliding a couch across the lounge. Pianos come with quirks, drama, and a price tag that makes your other furniture look cheap. They aren’t all built the same, which means how you move them isn’t the same either.
Broadly speaking, there are three main categories which we've outlined below.
Grand (or Baby Grand) Pianos
Big, bold, and not at all shy. Grand pianos are the divas of the piano world with horizontal frames, long strings, and enough presence to take over an entire room. They’re also the heaviest and priciest, which makes them the riskiest to move without professional help.
Their design, with gravity resetting the hammers, means you get faster play and more control than other types. Sizes range from around 1.4 metres up to nearly 3 metres in length. Translation? You’ll need serious gear and serious muscle to shift one safely.
Upright (Vertical) Pianos
Reliable, compact, and easier to slot into New Zealand living rooms, uprights are the “get-on-with-it” workhorses. Their soundboards and strings stand vertically, which saves space while still delivering rich tones.
Uprights usually stand between 110 and 140 cm tall and around 155 cm wide. They’re still heavy, but more forgiving to move than a grand. If you’re tempted to DIY, an upright is the only piano type where that idea isn’t totally mad (though still risky without the right kit).
Digital / Electronic Pianos
The easy one in the bunch. No strings, no soundboards, no hammers. Instead, you have sensors, speakers, and tech wizardry. Tap a key, and it triggers a recorded note that plays back through the speakers.
Digital pianos are light, portable, and some even run on batteries. They’re the most forgiving when it comes to moving. Toss one in the backseat (carefully, please) and you’re basically done.
Bottom line: not all pianos are created equal. Knowing what you’ve got determines how you protect it, how you lift it, and whether you call in the pros. Misjudge it, and you’re looking at scratched floors, broken pedals, or worse, a very expensive repair bill.
DIY vs professional piano movers
 You may think bribing friends with pizza will cover it. Reality check: pianos are big, intricate, and hard to move, and even pizza won’t make it easy.
But (and it’s a big but), if you’re brave enough to slap an ‘S’ on your chest and call yourself the DIY superhero, let’s look at when you can DIY it and when to call the pros.
When DIY might work
- The piano is an upright or lighter model.
- The route is straightforward (no tricky corners or staircases).
- You have at least 3–4 strong helpers.
- You can access proper gear like dollies, straps, and padding.
- You’re prepared to accept the risks if things go wrong.
Pros: cheaper, full control over timing, no scheduling hassles
Cons: high risk of injury or damage, no insurance cover, can take much longer
When to call in the pros
- Moving a grand or baby grand.
- Houses with stairs, tight turns, or narrow access.
- You want peace of mind and insurance cover.
- You don’t have reliable helpers or equipment
Benefits of hiring piano movers in NZ
- They have the skills and experience needed to handle delicate, high-value items without breaking a sweat.
- They bring specialised tools.
- They’re trained for the hard bits (think staircases and tight doorways).
- They’ll protect your piano like it’s their own.
Step-by-step piano moving process
While hiring pros is usually the best choice, with the right know-how, you can tackle your piano move yourself. It’s not as simple as plonking it on a dolly and rolling it out the door; you need to know what you're doing. The steps that follow will keep you on track and hopefully keep your piano in one piece.
1. Gather your piano moving essentials.
Moving a piano requires certain tools, which are essential to get the job done. Even professional movers use this equipment too. You’ll want:
- Heavy-duty moving straps/piano straps.
- Dollies (four-wheeled full dolly, or piano board type).
- Thick moving blankets/padding.
- Strong tape (especially if it won’t touch the finish) or stretch wrap.
- Measuring tape
- Screwdrivers, spanners (for removing legs, pedals)
- Gloves (for grip, avoiding splinters).
- Ramps (if loading into a truck).
- Protective sheets/cardboard to protect floors/thresholds.
If you're moving a grand or baby grand, include a piano board (a specialised frame to support the weight) and extra padding for legs and lid.
2. Measure everything (seriously)
Grab the tape measure. Knowing the dimensions of your piano and the space it’s headed for is the only way to avoid nasty surprises mid-move. Measure everything twice, and if you’re worried about scratches, pad doors and frames with blankets for extra protection.
What you need to measure:
- Your piano (height, width, depth).
- All doorways, hallways, stairwells, and corners along the path.
- The vehicle/truck opening and internal clearances.
- Floor thresholds, height clearances.
Rather be safe than sorry: add a buffer of 10–20 mm extra. If any tight turns or low ceilings exist, plan alternate paths or partial dismantling.
3. Check your moving vehicle or truck
Before you roll out your piano, you’ll need:
- Ensure the truck’s interior dimensions can fit the piano and allow manoeuvring.
- Check if the vehicle has a tail lift/ramp (in NZ, many movers use trucks with tail lifts).
- The floor must be flat, stable, and capable of bearing the piano's weight.
- Leave free space around the piano so you can wheel it in without obstruction.
4. Mobilise your moving team
Most people run into trouble moving a piano because they overestimate their own strength. This is not a solo job. An extra pair of hands makes the move safer and smoother, which is exactly why professional piano movers always work in teams.
Here’s your ideal setup depending on the piano:
- Upright pianos: at least 3 strong people.
- Grands: 4 or more.
- Assign clear roles (front, back, sides, dolly handler).
- Use simple commands (lift, tilt, stop).
- Move slowly and stay in sync.
5. Clear the route
Most pianos live tucked into one end of the lounge, which usually means furniture, rugs, or appliances stand in the way when it’s time to move. Clearing a safe, open path is the first step before you even think about lifting.
- Remove rugs, furniture, decorations, plants (anything that could snag or trip).
- Keep the route dry and free of slippery spots.
- Prop doors open or remove doors from hinges if necessary.
- Lay down protective sheets or cardboard on floors or thresholds.
Once the path is cleared, double-check for small objects that could cause slips, scratch the floor, or jolt the piano.
6. Execute the move
Here comes the most important step in this guide, where you put everything into practice. The method varies depending on the type of piano:
Grand or Baby Grand Pianos
- Lower the lid and secure it tightly.
- Remove the legs and pedals using a screwdriver (if you’re confident doing so).
- Wrap each detached piece (legs, pedals, lid) in moving blankets or stretch wrap, and store them safely to one side or in a box.
- Cover the keys and soundboard with padding, securing it firmly with straps.
- Wrap the entire piano body in blankets, then fasten with straps.
- Lift carefully (bend your knees, not your back) and set it on a dolly or piano board.
- With your team in sync, guide it slowly through doorways and halls.
- Load the piano into the truck using a ramp or tail lift, then strap it securely inside so it won’t shift in transit.
Once delivered, reverse the steps: unwrap, reattach legs and pedals, and let the piano settle before calling a tuner.
Upright Pianos
- Wrap the entire body, especially keys and pedals.
- Tilt gently and place onto a dolly, ensuring it’s well balanced.
- Have someone steady it while it’s being wheeled.
- Move slowly through doorways, protecting frames as you go.
- Load into the truck and strap firmly to prevent movement.
After arrival, position it in its new spot, remove the padding, and allow it to rest before tuning.
7. Let it settle and retune
 Pianos, especially acoustic ones, are sensitive to climate change (temperature, humidity). After a move:
- Leave the piano alone for a few days (even up to a week) to acclimatise.
- Then hire a local NZ piano tuner.
- Check for new cracks, damage, or misalignment.
What not to do: common moving mistakes to avoid
Pianos may look tough, but they’re fragile and expensive. One wrong move can crack a soundboard or dent your home, which is why knowing what not to do is just as vital as following the steps.
Not getting help
Pianos aren’t your average “grab-a-mate” furniture item. Uprights can weigh over 130 kg, and grands can push 600+ kg. They’re heavy, fragile, and awkward to grip. Moving one safely takes at least 3–5 strong people, depending on the piano type. Too few hands, and you risk losing control, damaging the instrument, or worse, hurting someone.
Rushing the move
Moving a piano is a precision job, not a sprint. Go slow, take breaks, and keep communication clear. Rushing can mean costly damage or injuries from sharp corners and edges. Slow and steady really does win this race.
Lift without the right equipment
DIY doesn’t mean bare hands. A proper piano board for grands, heavy-duty dollies, straps, padding, and ramps are all must-haves. Skipping the gear is asking for disaster.
Other rookie mistakes to avoid
- Tilting a piano sideways can dislodge internal parts.
- Skipping padding leaves keys, pedals, and wood vulnerable to scratches and dents.
- Relying on weak helpers who can’t handle the load.
- Assuming doors, lifts, or trucks can take the weight without checking measurements first.
FAQs (Frequently Asked Questions) about moving pianos
Is it worth hiring professional movers?
Yes, especially for grand pianos or moves involving stairs. Professionals come with the gear, insurance, and experience, ultimately reducing your risk.
How much does it cost in NZ?
It depends heavily on location, distance, and complexity. Simple upright moves might cost a few hundred NZD, whereas grands or tricky moves could run into the low thousands. Get quotes from local piano movers in your city.
When should I retune the piano?
After it’s settled for a few days. Some tuners wait a week or two; others sooner. Ask your tuner for advice.
Can I move it up/down stairs myself?
Only if you are very confident, have the right equipment (stair-climbing dollies, braces), and a strong, coordinated team. Otherwise, hire professionals.
Make a wise piano move
Pianos are beautiful, valuable, and finicky. Moving one improperly can ruin the instrument, your home, or your back. The safest bet is to hire skilled piano movers in New Zealand who know the terrain, houses, climate, and best practices.
If you decide to DIY, use this updated guide as your roadmap. Take your time. Measure everything twice. Gear up. Communicate. Don’t be a hero. When done carefully, your piano can arrive intact, ready to sing in its new space.

 You may think bribing friends with pizza will cover it. Reality check: pianos are big, intricate, and hard to move, and even pizza won’t make it easy.
 Pianos, especially acoustic ones, are sensitive to climate change (temperature, humidity). After a move:


")